BBQ Basics: Pairing Wood for Smoking Meat
A History: Cooking made us human; smoking meat made us creative
It is no secret that cooking revolutionized the way people lived.
It is thought now to be the single most important tradition for ancient peoples to have been able to isolate massive amounts of nutrients for brain growth and conservation of time and energy. Humans have been inadvertently throwing game onto fire since some two million years ago but it wasn’t until a couple hundred thousand years ago, that man discovered the efficacy of smoking meats…by accident.
Because cave dwellers didn’t have chimneys and often utilized fires inside, smoking was discovered by coincidence when men stored meat in caves, trying to prevent animals from eating their prized provisions. Since chimneys had not yet been invented, the meat would get smoky. They eventually noticed this newly founded smokiness acted as a natural preservative (along with salt) but, more significantly, they also noticed its flavors.
Thus, smoking is born and the beginning of harnessing creative sure-fire barbecue methods via pairing and techniques.
How to Smoke Meat with Wood: The Basics

So, what gives? Now we are left with the archaic remnants of the beginning of creatively pairing types of woods to create flavor profiles. Traditions such as those in Montreal, Texas, Kansas City, and so on, have perfected the art of creating the most unique, culinary combinations across the world. When we pay attention to the nuances in the types of woods we select to smolder our sustenance, we harness the integrity of our ancestors and bring out our food’s piquancy.
But, how does one smoke meat? For your next impressive backyard barbecue or if you’re looking to revolutionize your culinary creations at your restaurant, here’s a guide on the basics of smoking:
Supplies you’ll need:
A grill or smoker. There are a lot of options that are both affordable and higher-end. You can use a large, traditional smoker, a bullet smoker, a Weber Kettle Grill, the Green Egg, or anything else where you can maintain a controlled fire. You will also need a cutting board, tongs, a brush, thermal gloves, a thermal-pen, or an instant-read thermometer.
Prepping the meat:
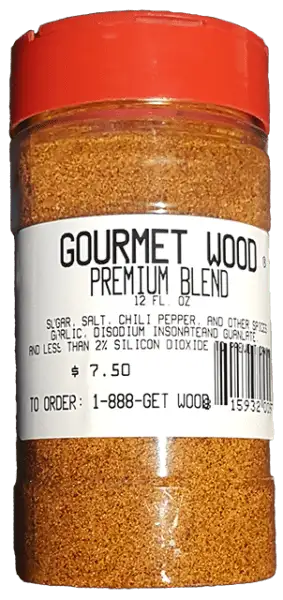
Use a spice rub and keep the meat cold and wet. Smoke is attracted to cold meat and the spice rub will puncture the meat, allowing smoke to penetrate deeper into the cut. Be sure to play around with your spice rubs for unique flavors. Common rubs include ingredients such as cayenne, garlic powder, onion powder, paprika, cumin, white sugar, brown sugar, powdered honey, and of course, salt and pepper. The rule of thumb is that beef pairs well with saltier rubs while pork and fish pair well with sweeter rubs. Chicken is a more versatile meat and can do both.
Gourmet Wood Tip: Mustard can act as a binding agent for rubs when they have a tendency to fall off during the smoke.
Temperature: There are many varying techniques but most smoke by using the technique “low and slow”; meaning, you smoke for a long period of time-anywhere between 12-14 hours, at a lower temperature of around 225-250 degrees. Conversely, you can cook at a higher temperature for a shorter amount of time like 5-6 hours at 400 degrees. It can depend on the type of meat you are smoking. Many agree that briskets, ribs, and pork for example are better for the “low and slow” technique, while chicken and fish are good for the quick cook due to the preference for a crispier coating.
Technique:
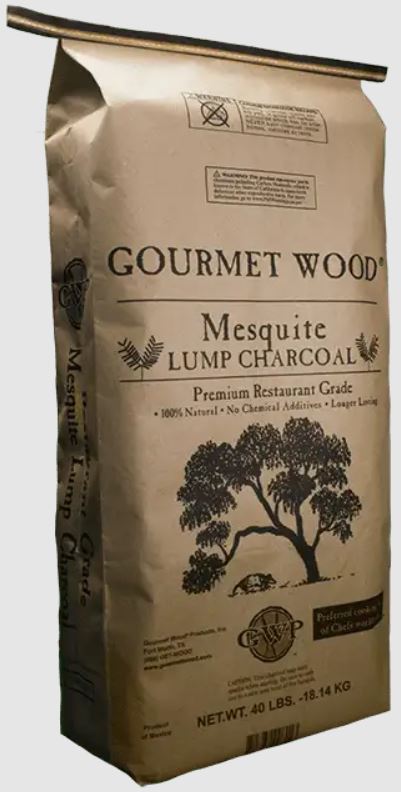
Start with coals and then add wood: It’s preferred to start with coals but for beginners, is highly recommended to serve as a base starter and to control the temperature of the fire. However, you will want to smoke with wood for flavor.
Allow the fire to emit blue smoke for longer cooks: Be sure to have spacing between the meat and the direct fire in the smoker so allow the coals and wood to smolder. Smoldering will happen when you deprive the fire of oxygen by closing the lid of the smoker. You can start by ensuring the coals are hot and smoking then add wood slowly to your fire. You want coals to be emitting smoke only before placing the meat in the smoker. For longer cooks, you want a slightly blue tint to the smoke before adding your meat. For shot cooks, the smoke will be white.
Add wood continually and intermittently: It is going to take work to continue to monitor the smoker and keep the temperature stable by adding wood continually. There is no cap on how much smoke can enter into the meat so the more smoke you have, the smokier the flavor. Foiling meat can also help control levels of smokiness in meat.
Gourmet Wood Tip: Be weary of too much smoke in your flavor profile and add wood approximately every 45- 60 minutes as the smoke dies down.
Moisten meat as you go: Another great technique is to continue to brush (or spray with a spray bottle) the meat with a marinade or rub. This ensures the meat stays nice and moist for the finished result. Similarly, adding a bit of water to the fire helps to create more humidity to keep the meat moist. You can use a water pan inside of your smoker to help create humidity.
Check the temperature and appearance: Finally, check the meat’s overall appearance and temperature as it becomes done.
Selecting the Best Wood
What is good wood?
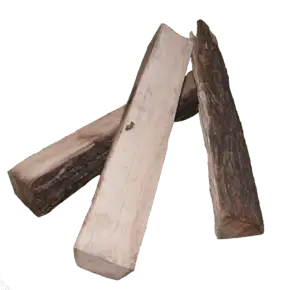
First and foremost, you will want to always select dry, hardwoods for smoking and the moisture content should be below 20%. This means you should avoid all softwoods such as spruce, redwood, cedar, pine, fir, and cypress because they are sappy trees and will give your cook an odd taste. Some trees also contain resin that will make you ill.
The moisture in wood should be somewhere between 14-22% since wetter woods burn inconsistently and irregularly. Wetter woods will also impact the flavor with its impurities. Instead, look for kiln-dried, restaurant-grade wood or wood that has been properly seasoned. This will guarantee no molds, moisture, bugs, or bacteria will be present in the wood.
Furthermore, you certainly want wood that is not treated with harsh chemicals in the process. Likewise, with the storage of the wood, it is best to look for distributors that take the highest precautions in making sure none of the above contaminants re-enter the wood after the kiln-drying process. Best case scenario, look for those who store their wood on concrete to guarantee that no cross-contaminants enter the wood.
Bark on the wood is optional but the less, the better. It can add a bit of flavor to your cook but it is not something that you want to overpower the heartiness the wood creates.
Size and Type Matter
The cut of the wood is important because the burn time and temperature is dependent on it.
In general, for longer smoking, chunks work best. For shorter, chips and pellets will do the trick. However, it also depends on what you are using to cook or smoke the meat. Here’s a fool-proof guide and how to select the size of your wood:
Electric and gas grills

Use wood chips: Using wood chips is the preferred method for gas and electric grills. If you have a Chip Smoker box on hand, you can place the chips in it and lay them on top of the grate. If a smoke box is not available, aluminum foil can be used in its place. Just wrap the foil around about a handful of chips and poke holes in the top. It is often mentioned that you should pre-soak your chips in water before placing them on the grill, this is not necessary. The only thing this accomplishes is to increase the time it takes for the chips to start smoking. It does not extend burn time and creates steam instead of smoke which can negatively affect your end product.
Gourmet Wood Tip: It’s no necessary to pre-soak your chips in water before placing them on the grill.
Charcoal grills and industrial grills with limited space
– use chunks or wood chips:

Premium wood chunks usually come in 3” X 3” X 3” Inch size. Perfect for those that have your standard backyard grill and those that have limited room for larger hardwood logs. Just place a few wood chunks directly on your pre-heated charcoal to start the smoking process. It is recommended to do this before placing the food on the grate as wood chunks can increase the temperature.
Large grills, smokehouses, and industrial-sized smokers or grills
– use mini-logs or 16” logs:
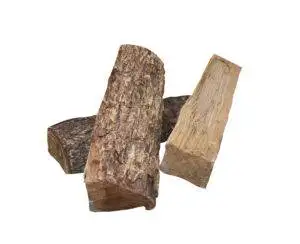
Both 11” Mini-Logs and 16” full-size logs are used in larger professional-grade smokers and grills. This cut of hardwood is intended to burn longer and hotter than smaller cut wood which makes it perfect for food production in a restaurant or competition environment.
Custom grills with wood trays and wood-fired pizza ovens – pizza split wood logs:
Pizza split logs are thinner than normal 16’’ logs. Approximately 16″ X 2″ X 2″, pizza split logs offer a smaller form factor that works great with industrial and custom-made grills with smaller diameter wood trays. Pizza split also burns hotter faster, which makes it an excellent choice for wood-fired pizza ovens.
Pairing your Wood Selection to Create Flavor
The last but not the least: selecting wood for flavor. A common question is “how do I pair the type of wood to the type of meat?” There is no one right answer and many encourage experimentation and mixing of woods. However, there are general guidelines based on the smokiness of the wood, the burn temperature, and the flavors it gives off.
For example, typically sweeter or fruitier woods pair better with pork, lamb, and poultry. Conversely, saltier woods pair better with beef, brisket, and ribs.
Gourmet Wood Tip: Get the basics down but mix it up to harness your creativity
Here is a simple chart to help you pair the best woods species to meat:
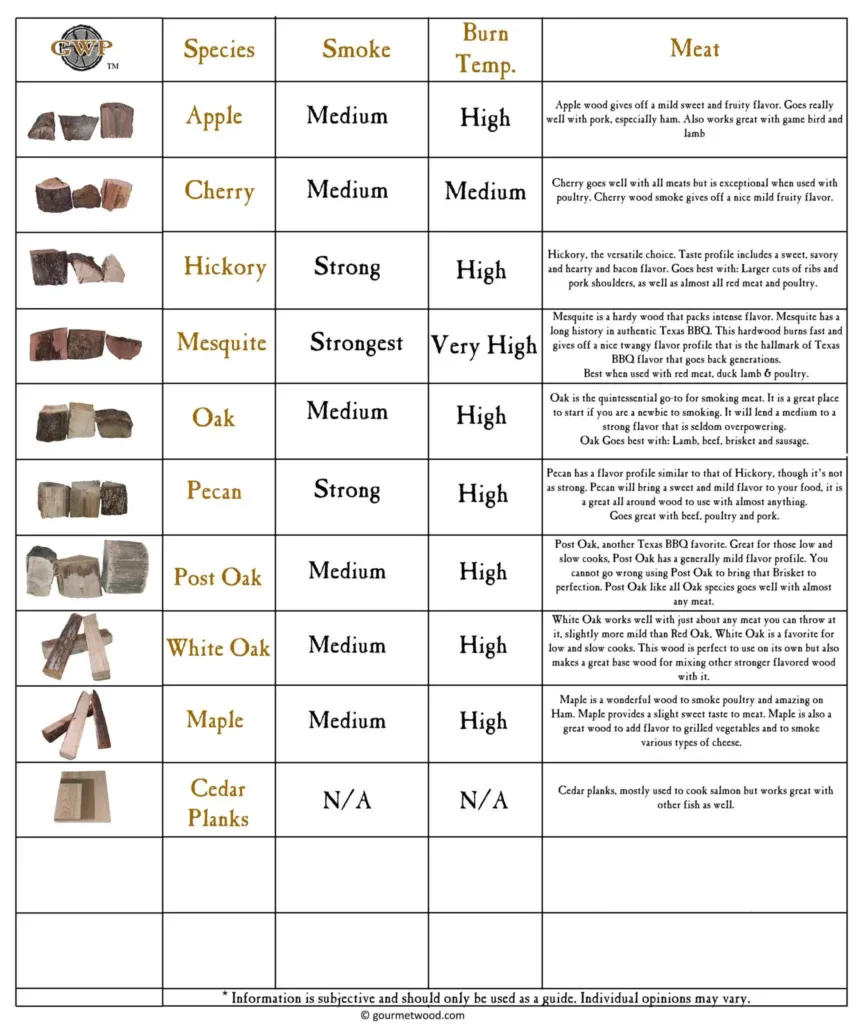
Although this guide is surely helpful, be sure to experiment and harness your creativity. Once you have the basics down, there is a lot of room to get the creative juices flowing – literally. As history tells us, it is the difference between just cooking meat and smoking that perfect set of ribs that will impart a lasting memory for your guests or your customers.
– Andrew Bradley
